WebMail Lite PHP - 다국어 지원
AfterlogicWebMail Lite PHP
Why WebMail Lite PHP?
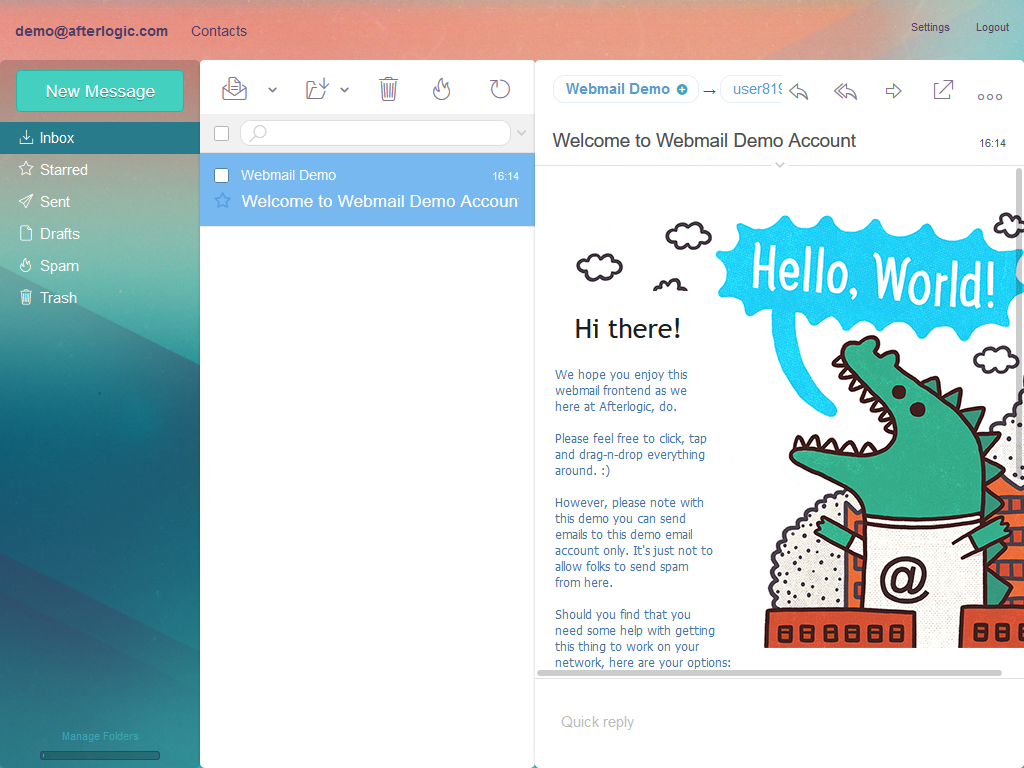
Fast and easy-to-use webmail front-end for your existing IMAP mail server, Plesk or cPanel.

Installation instructions
- Obtaining the product package
- Installing on Linux
- Installing on Windows
- Finalizing the installation
- Redirecting to HTTPS
- Protecting data directory
Obtaining the product package
You can download the package of WebMail Lite from:
https://afterlogic.org/download/webmail_php.zip
Installing on Linux
Unzip and upload the contents of the product package onto your web server. Let's assume you've created a directory called webmail in the root of your web space (web root) and placed the package contents there. This way, you'll be able to access the application through the web at the URL of the following kind: http://your_domain/webmail
Examples (assuming you wish to use webmail name for the target directory):
- in case of SSH access to a dedicated server, the web root usually looks like
/var/www/html. Thus, you should create/var/www/html/webmaildirectory and place the application files/directories there. - in case of uploading via FTP on a shared hosting, the web root is usually something like
/public_htmland you should create and upload into/public_html/webmaildirectory.
NB: It's important to make sure data directory is writable by web server.
Typically, that's achieved by changing files ownership to the system user webserver runs under. For example:
chown -R www-data:www-data /var/www/lite/dataAlternately, you can try changing permissions recursively to 755 or 777:
chmod -R 0777 /var/www/lite/dataRead more on this at: Troubleshooting issues with data directory
Installing on Windows
Unzip and upload the contents of the product package onto your web server. Let's assume you've created a folder called webmail in the root of your web space (web root) and placed the package contents there. This way, you'll be able to access the application through the web at the URL of the following kind: http://your_domain/webmail
Examples (assuming you want to use webmail name for the target folder):
- in case of Remote Desktop access to a dedicated server, the web root usually looks like
C:\Inetpub\wwwroot\. Thus, you should createC:\Inetpub\wwwroot\webmailfolder and place the application files/folders there. - in case of uploading via FTP on a shared hosting, the web root is usually something like
/wwwrootand you should create and upload into/wwwroot/webmailfolder.
NB: It's important to make sure data directory is writable by web server.
You can skip the following step if all of the below is true:
● you only have FTP access to your server;
● you do not have a web control panel (like WHM or Plesk) at all or it does not allow setting permissions;
● you have no other options to set permissions.
If all of the above is true (usually, shared hosting with preconfigured permissions), the permissions should be OK but if they are not and the hosting provider does not allow you to set them, you will need to contact their support to do this for you.
The following steps allow you to assign necessary permissions. We're assuming this is done via Remote Desktop access.
- using Windows Explorer, navigate to the folder which contains the
datafolder; - in the context menu, choose "Properties" of the
datafolder and "Security" tab; - add Internet Guest Account (usually IUSR_...) into the list;
- tick "Allow full control" checkbox to grant permissions and press "OK".
If assigning the permissions doesn't seem to have any effect, repeat the same steps, but instead of granting "Full Control" to Internet Guest Account (usually IUSR_...) account, grant the same permission to Everyone user.
If your hosting control panel provides some kind of a file manager, i.e. a tool which shows you all files and folders and allows you to set set permissions for files and folders, you should set the same permissions as in case of Remote Desktop or direct access.
Also in case of IIS, it's strongly recommended to relocate data folder out of web root for security reasons, see Protecting data directory documentation page for more infor.
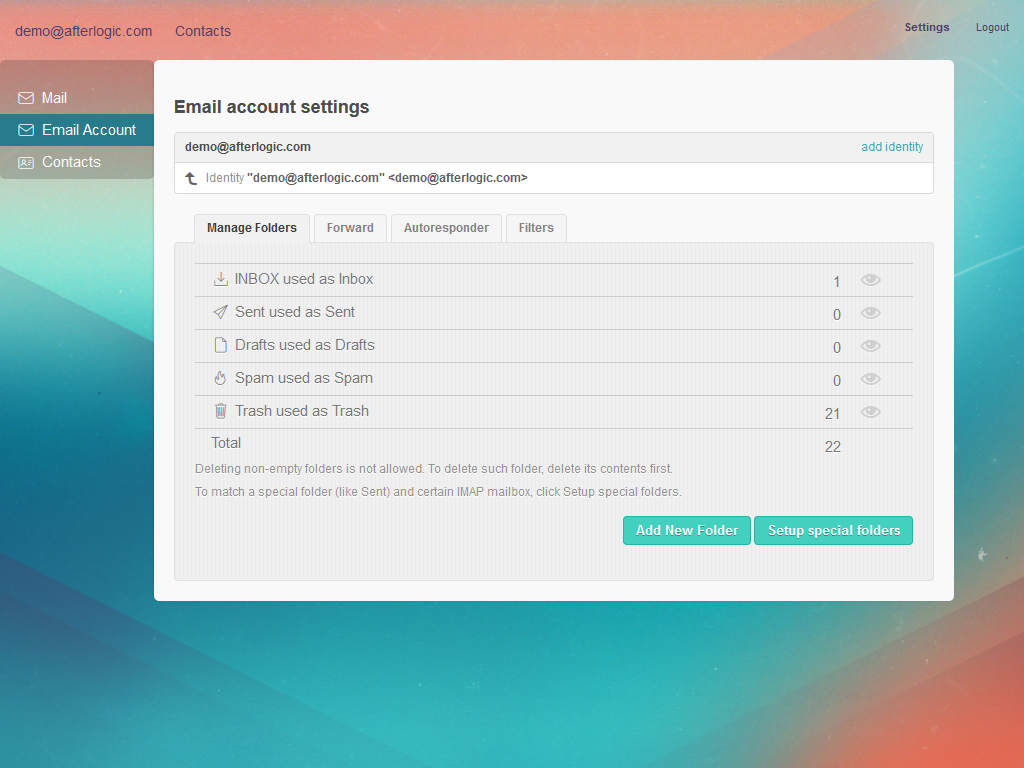
Finalizing the installation
It is advised to run Compatibility test to check that server meets the requirements, and that data directory has correct permissions set.
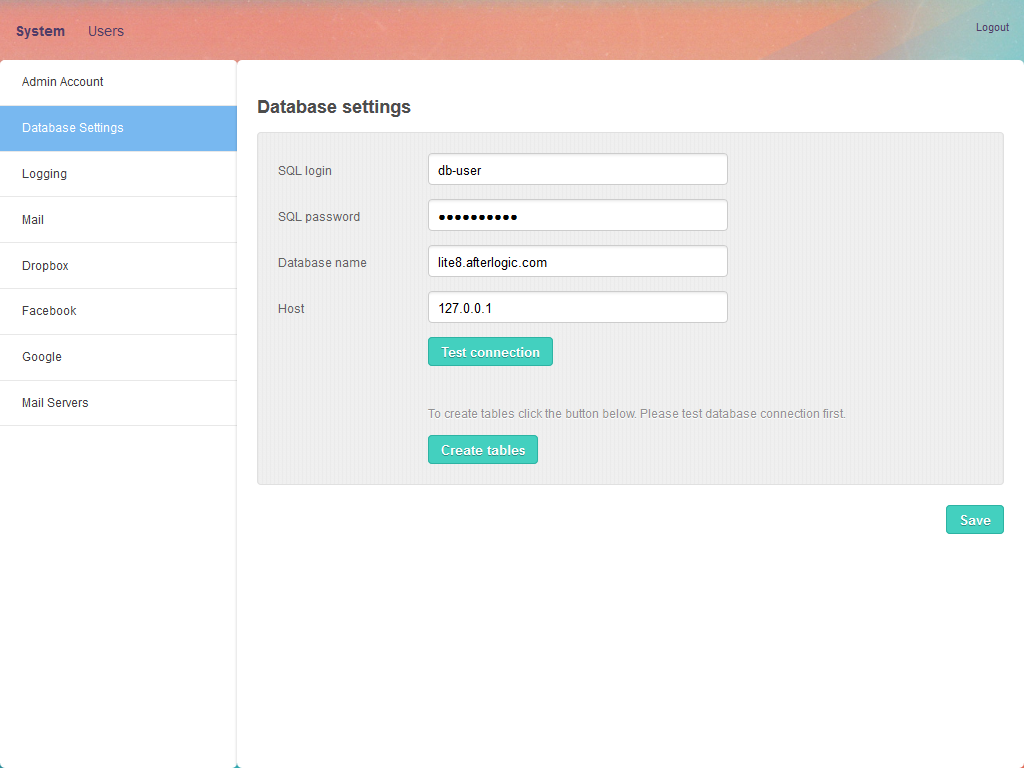
Upon installing the product, you'll need to configure your installation.
Redirecting to HTTPS
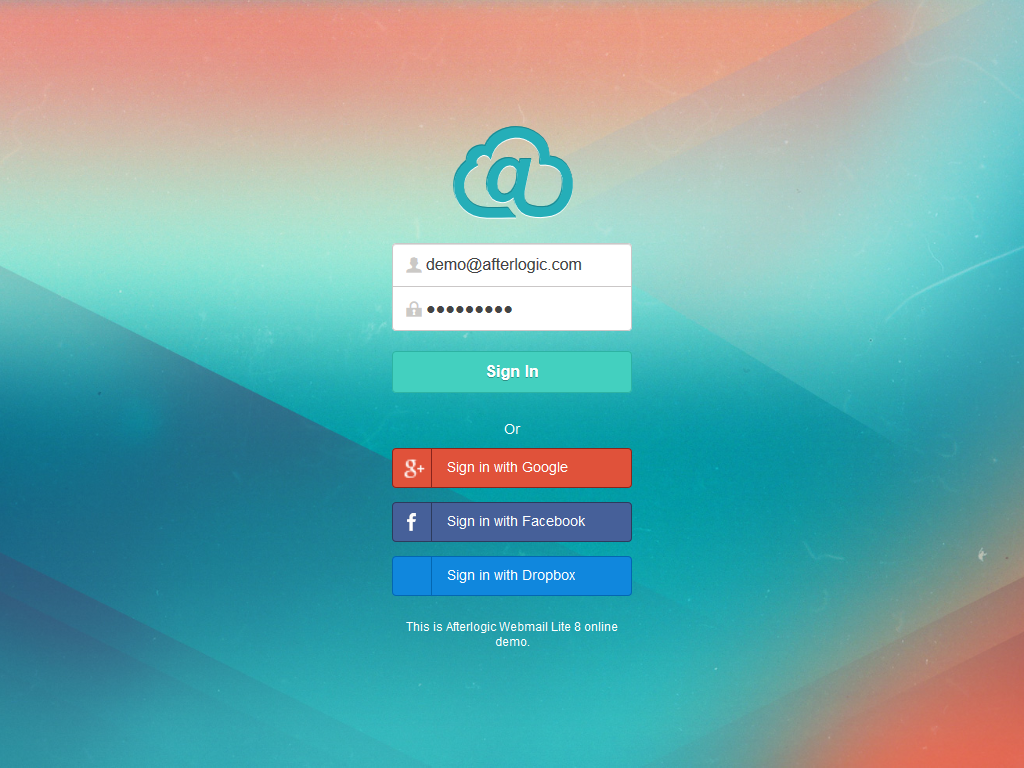
It is strongly recommended to run the product under https. If you run it under http, the majority of features will still be available, but some functionality aspects, such as authentication with Google account, won't work.
To enable automatic redirect from http to https, set RedirectToHttps to true in data/settings/config.json file.
Protecting data directory
All configuration files of the application and user data are stored in data directory, so it's important to protect data directory to make sure that users cannot access that directory over the Internet directly.
 webmail_php.zip